
Capturing Too Much? You’re Not Alone
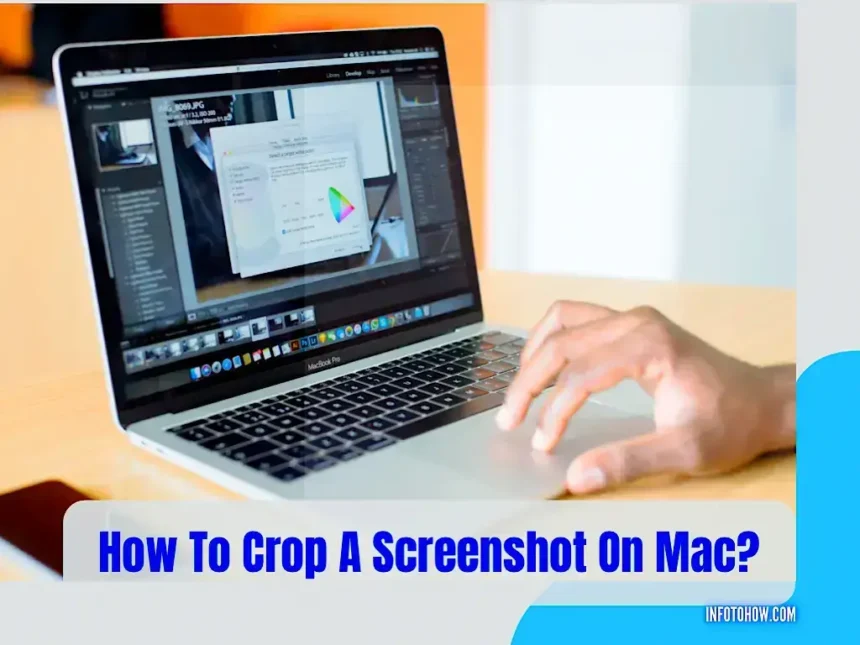
Imagine this: You take a screenshot of a report on your Mac, ready to send it to your team. But then, you notice that it also includes your browser tabs, notifications, or even a bit of your cluttered desktop. At that moment, your simple task becomes a little frustrating. You wonder—how to crop a screenshot on Mac so that only the necessary part remains?
The truth is, you’re not the only one who’s been in this situation. Many Mac users find themselves needing to adjust their screenshots after taking them. Luckily, macOS comes with several helpful features that allow you to crop images without needing to download any apps or learn complicated software.
In this guide, you’ll learn how to crop a screenshot on Mac using clear, straightforward steps. We’ll also share tips to improve your screenshot-taking skills, explore the built-in tools available, and explain why cropping is more useful than you might think.

Why Knowing How to Crop Makes a Big Difference
It might seem like a minor detail, but cropping a screenshot can actually save you a lot of time and effort. Let’s say you’re creating an instruction manual or a presentation. Including clean, focused screenshots makes your work easier to understand—and more professional-looking too.
One user, Josh, who works in customer support, said that once he figured out how to crop a screenshot on Mac, his support emails got much better. Customers stopped asking for clarification because the images he sent were neat and direct. Like Josh, once you learn how to trim your screenshots, you’ll wonder how you ever managed without this skill.
So, whether you’re sharing information with colleagues, submitting a digital assignment, or just trying to tidy up a messy image, cropping is your best friend.

Before You Crop: How to Take a Screenshot on Mac
Of course, before you can crop a screenshot, you need to take one first. Here are the most common keyboard shortcuts Mac users rely on:
-
Command + Shift + 3 – Captures the entire screen.
-
Command + Shift + 4 – Lets you drag and select a specific area.
-
Command + Shift + 5 – Opens a toolbar with even more screenshot options.
Now, although you can use Command + Shift + 4 to select only what you need, it’s easy to make mistakes. That’s why cropping afterward is so helpful—and now it’s time to learn exactly how to crop a screenshot on Mac in different ways.
Three Easy Methods to Crop Screenshots on Your Mac
1. Use Preview to Crop an Existing Screenshot
Most screenshots on a Mac open in Preview by default. Preview is much more than just an image viewer—it also allows for simple editing, including cropping.
Here’s how to do it:
-
Open your screenshot with Preview.
-
Use your mouse or trackpad to draw a box around the area you want to keep.
-
From the top menu, go to Tools > Crop.
-
Save your changes by pressing Command + S or File > Save.
Preview is fast, built-in, and great for editing without needing internet or extra programs.
2. Crop Using the Screenshot Thumbnail
Since macOS Mojave, screenshots taken on a Mac show a small thumbnail preview in the bottom-right corner of your screen. This feature lets you edit the image before it’s even saved.
To crop using the thumbnail:
-
Take your screenshot.
-
Quickly click on the thumbnail before it disappears.
-
Use the tools at the top to select and crop the part of the image you need.
-
Click Done to save it.
This method is perfect for those who want to crop and send screenshots in one smooth workflow.
3. Crop Within the Photos App (for Saved Screenshots)
If your screenshots are stored in the Photos app (especially if you use iCloud), you can easily crop them there too.
Steps:
-
Open the Photos app and select your screenshot.
-
Click Edit, then go to the Crop section.
-
Adjust the cropping handles as needed.
-
Hit Done to apply your edits.
This is a great option if you manage screenshots on both your iPhone and Mac and prefer editing within one app.
Extra Tips to Make Screenshot Editing Easier
Now that you’ve learned how to crop a screenshot on Mac, let’s go a step further. These tips will help you avoid common mistakes and improve your workflow:
-
Use Command + Shift + 4 + Spacebar to take perfect window-only screenshots.
-
Take timed screenshots via Command + Shift + 5 to avoid messy layouts.
-
Rename your screenshots right away to stay organized.
-
Zoom in before cropping for better precision, especially on high-resolution displays.
-
Don’t over-crop—leave enough detail to make the image understandable.
With just a few habits like these, your screenshot game will improve instantly.
What If You Want More? Advanced Tools to Consider
Although macOS covers most screenshot needs, some users might need additional features like markup, cloud sharing, or video recording. Here are a few powerful apps you can try:
-
Snagit – Excellent for detailed tutorials and video walkthroughs.
-
CleanShot X – Offers a clutter-free interface and highly customizable editing options.
-
Lightshot – A lightweight app that’s quick and user-friendly.
These apps are useful if you work with screenshots daily and want professional-level tools.
How Cropping Changed My Work Routine
I used to send full-screen screenshots to my team during weekly updates. One day, someone kindly pointed out that they had to zoom in every time just to see the one graph I was referring to. That’s when I decided to figure out how to crop a screenshot on Mac—and it made a huge difference.
Now, my screenshots are clean, focused, and faster to create. I even trained a few coworkers to do the same, and we all save time during meetings. It may seem like a small skill, but sometimes those are the ones that make the biggest impact.
Conclusion: Clean Screenshots Made Simple
In today’s digital world, screenshots are everywhere—from work documents to school assignments and even social media posts. So it only makes sense to keep them neat and focused.
With the easy tools macOS provides—like Preview, the screenshot thumbnail, and the Photos app—you can learn how to crop a screenshot on Mac in just a few minutes. No need for fancy tools or expensive apps unless you want extra features.
Now that you know how, go ahead and crop with confidence. Your images will look better, and your communication will be clearer.
Quick Recap
-
Use Preview for fast edits.
-
Click the thumbnail preview to crop right after taking the screenshot.
-
Try the Photos app if your images are stored in iCloud.
-
Take advantage of keyboard shortcuts for better screenshots.
-
Use third-party tools for more advanced needs.
- Meta Description:
Want to clean up your Mac screenshots? Learn how to crop a screenshot on Mac using simple built-in tools and easy-to-follow steps—no extra software needed.